Open LiveChat Support
Wall Accents | Decorative Wall Panels, Wainscot & More

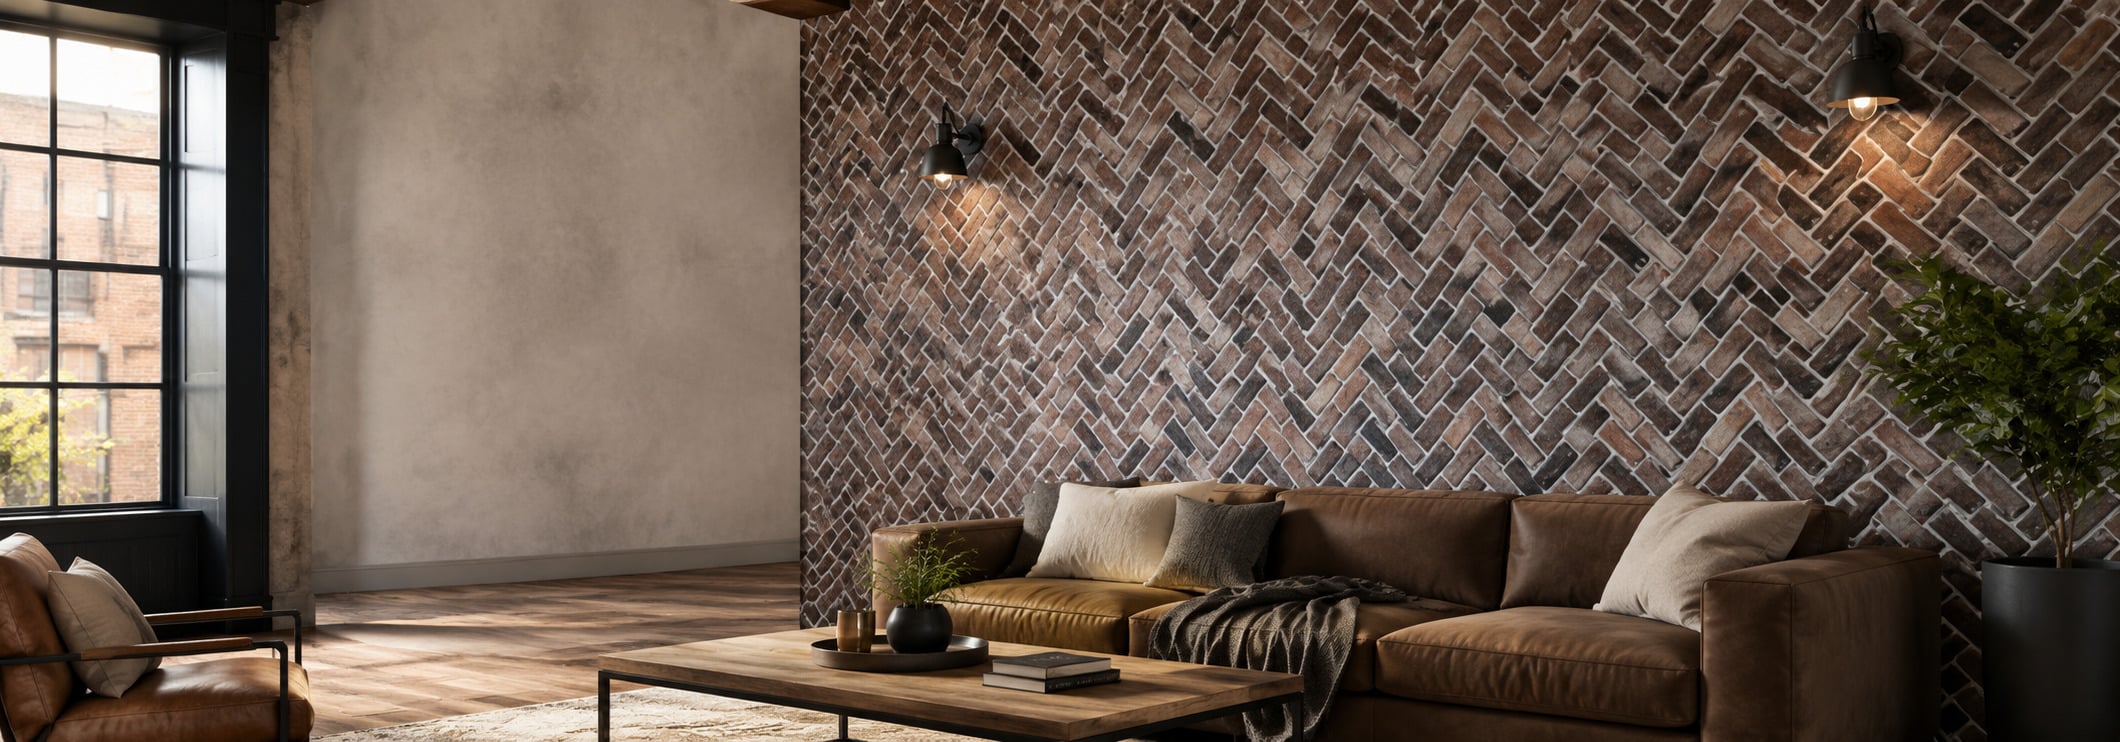
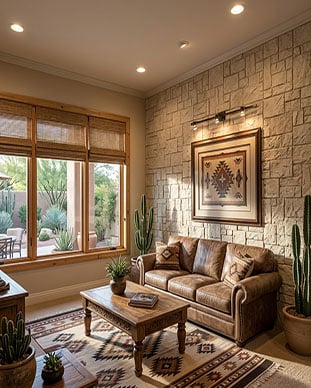
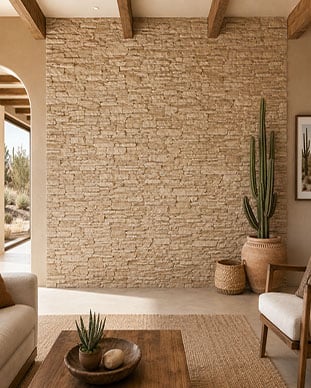
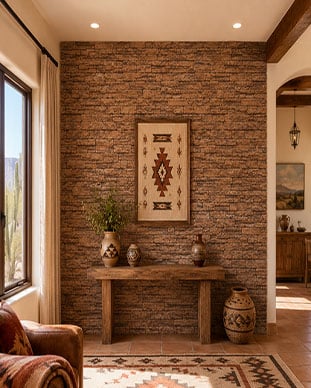
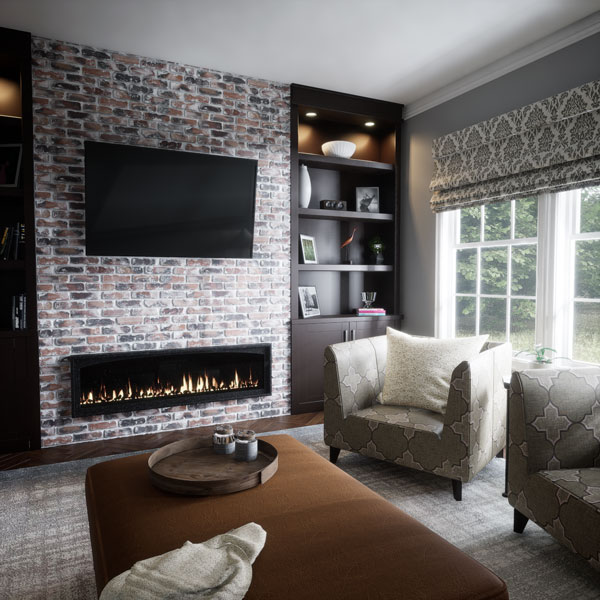
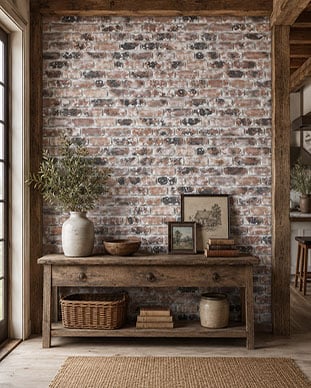
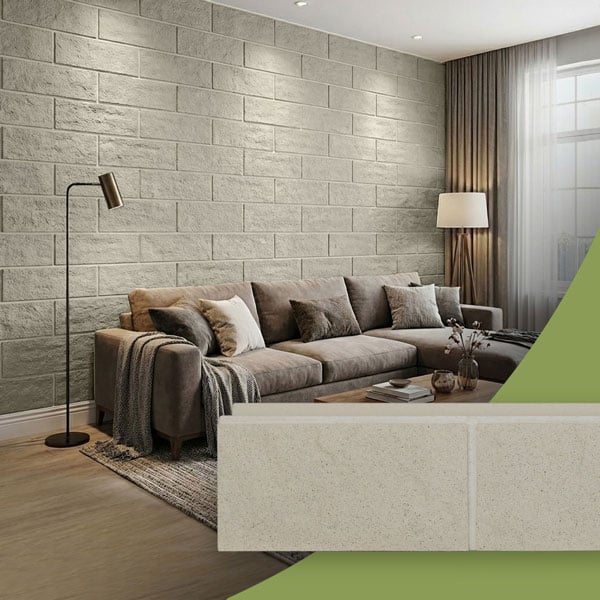
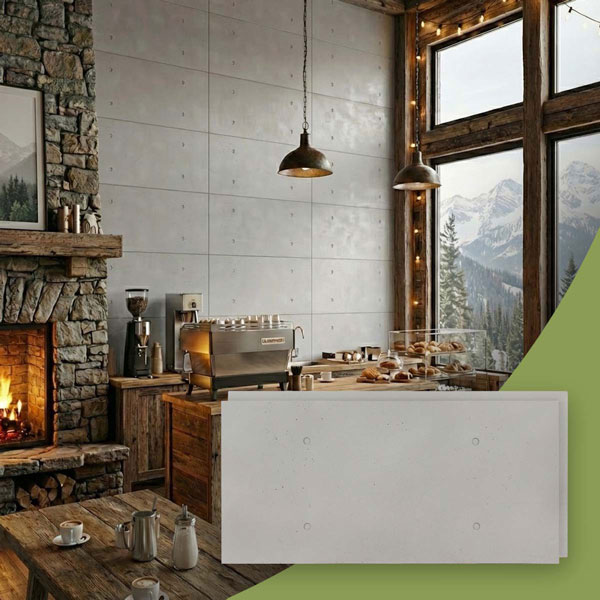
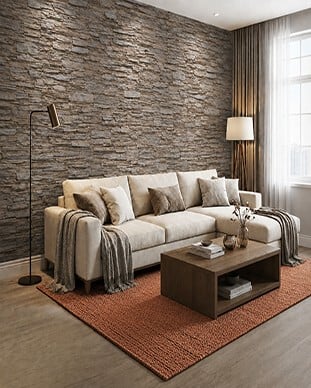
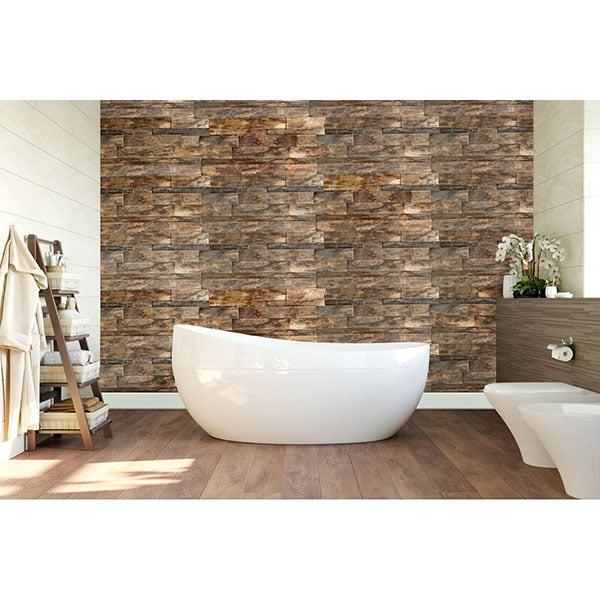
Faux Stone, Brick, & Concrete Panels

Rugged and authentic profiles capturing organic variations and classic masonry textures.

Shop All
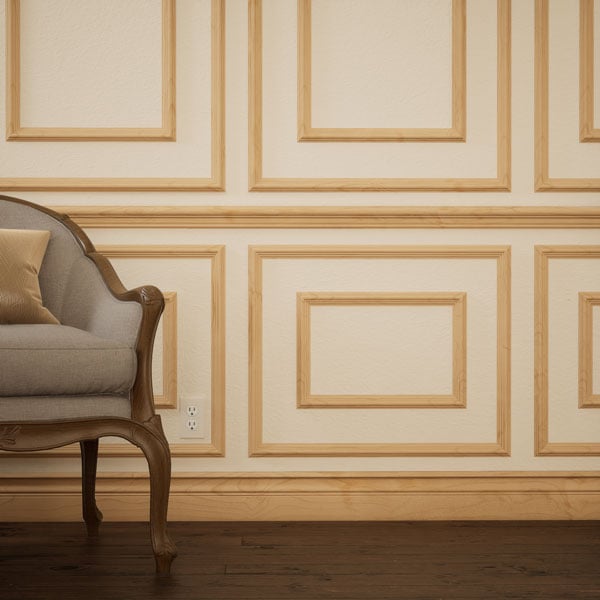
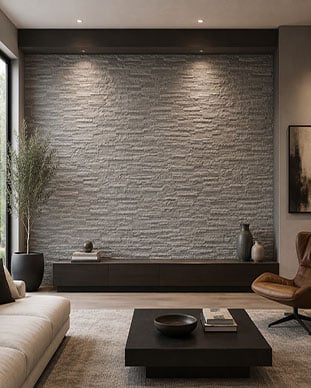
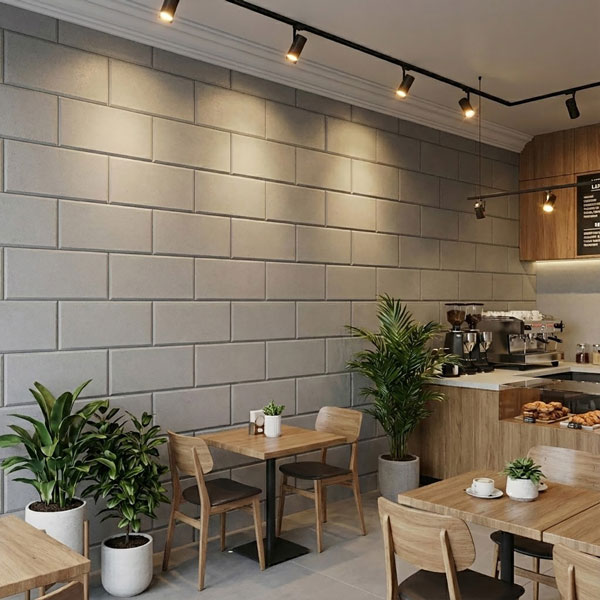
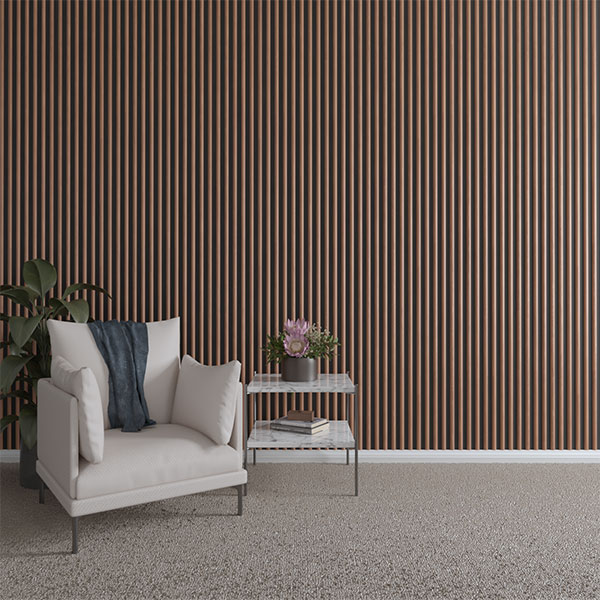
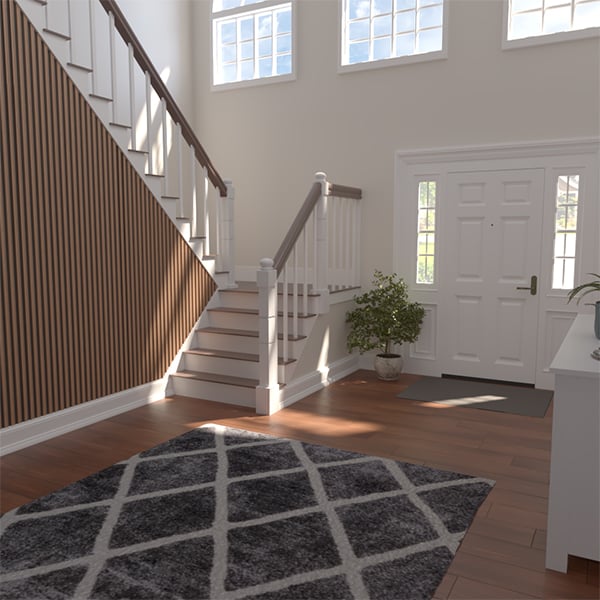
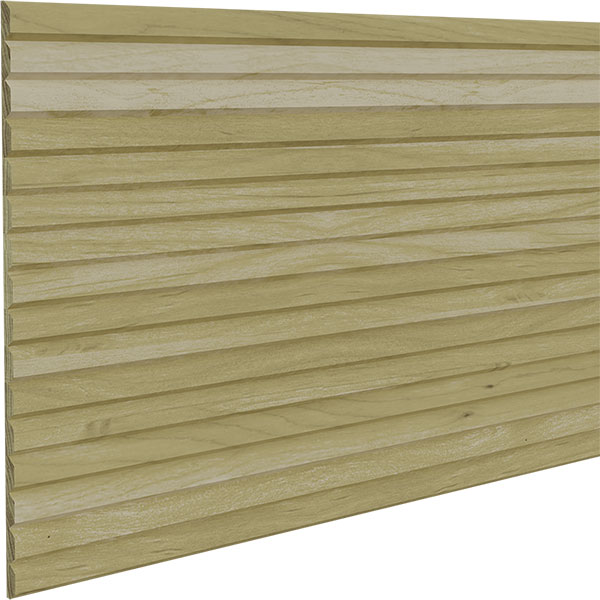
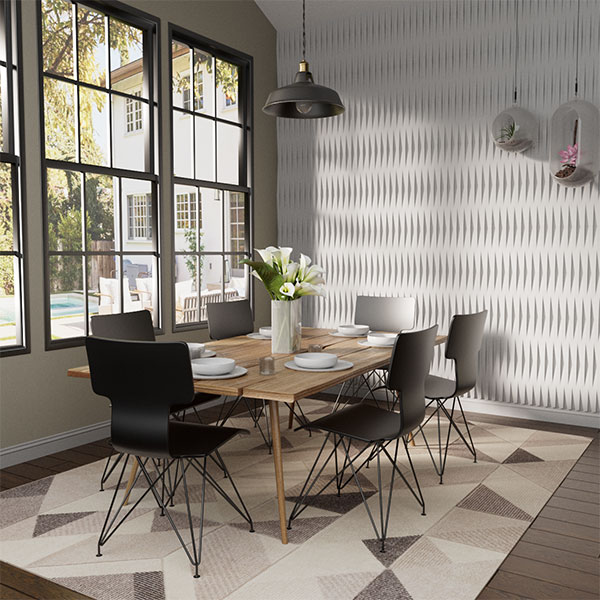
Slat Walls

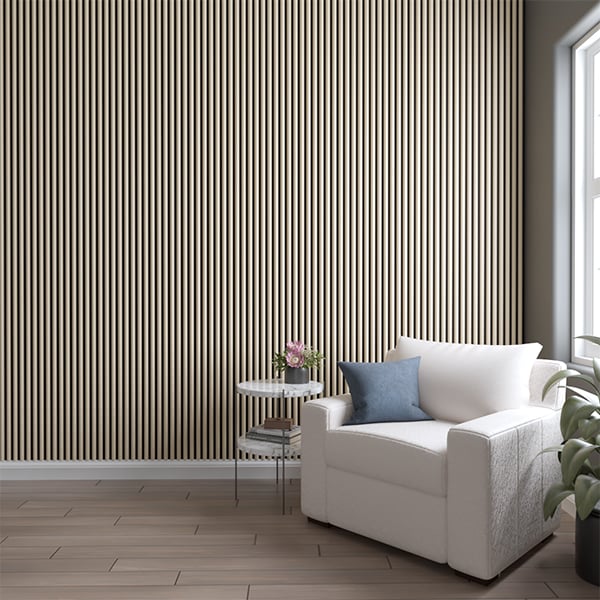
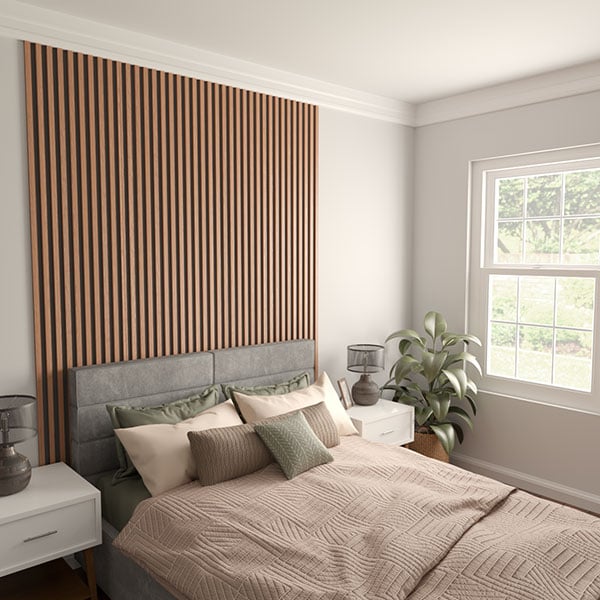
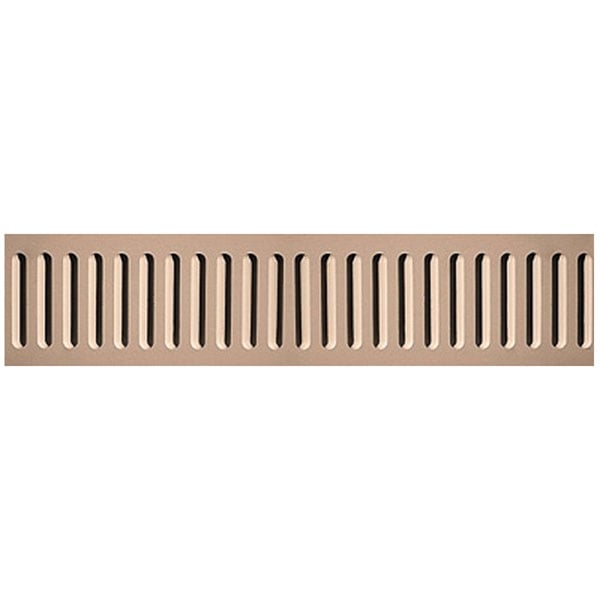
Warm, dimensional slat systems that bring rhythm, acoustic comfort, and modern texture to any wall.

Shop All

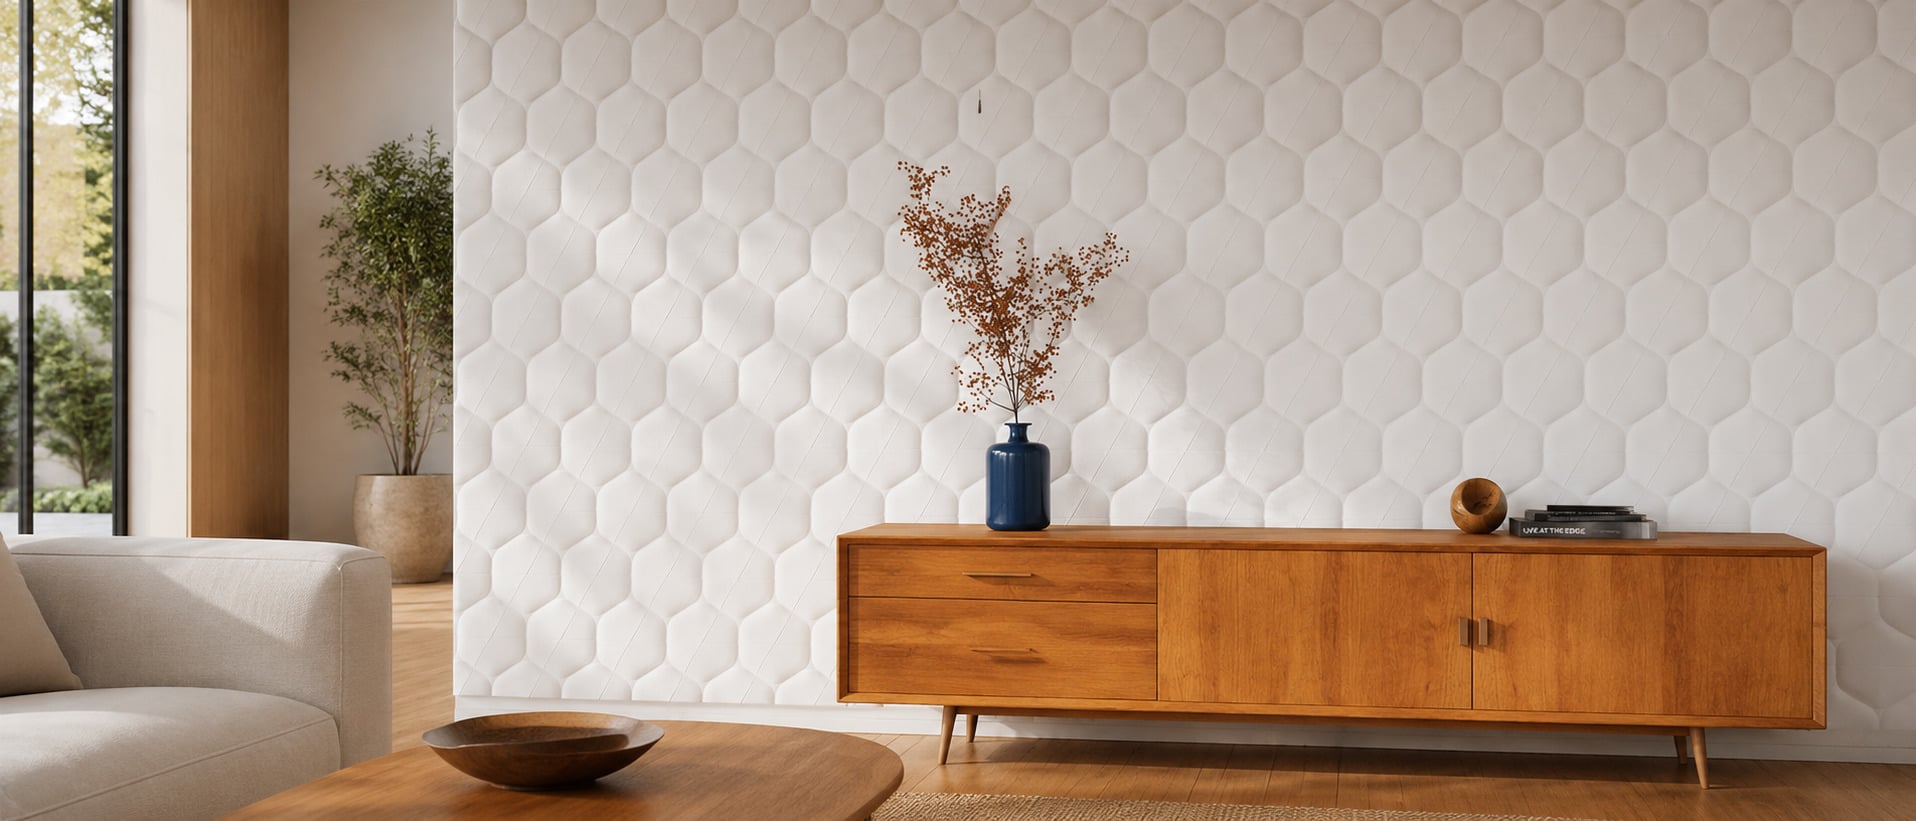
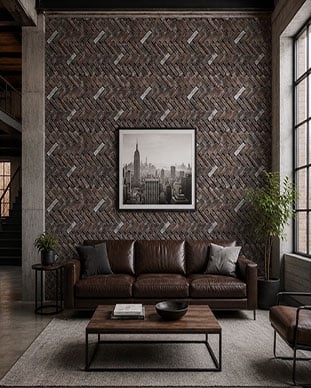
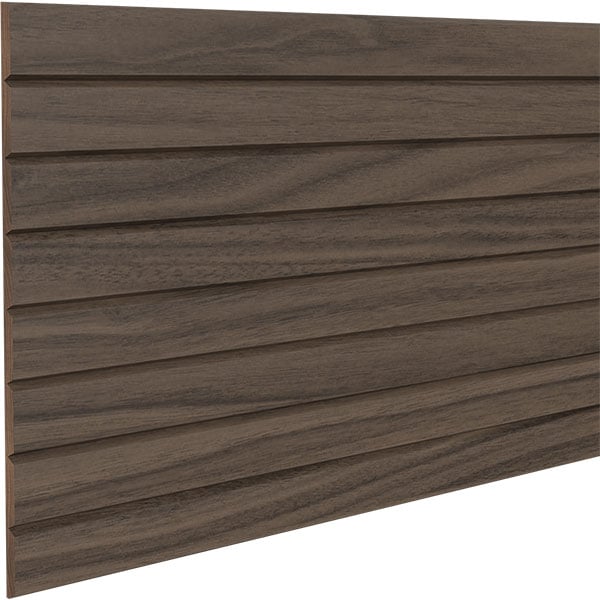
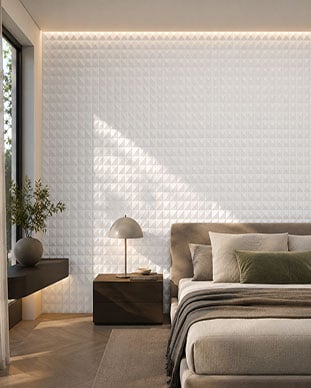
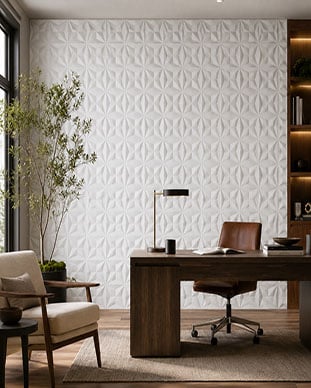
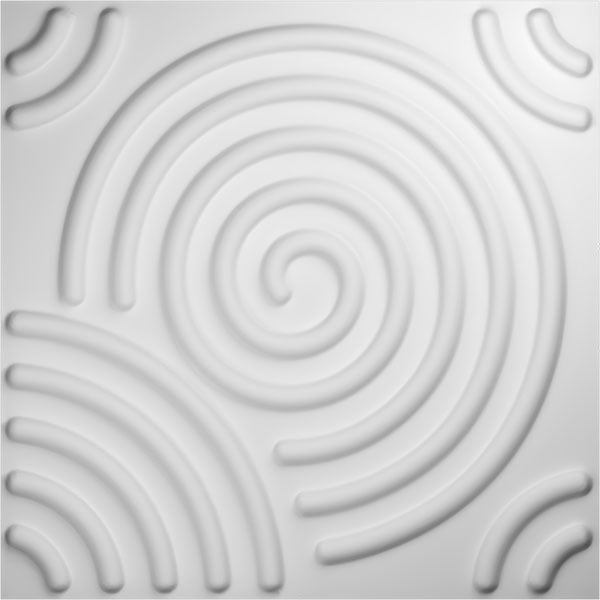
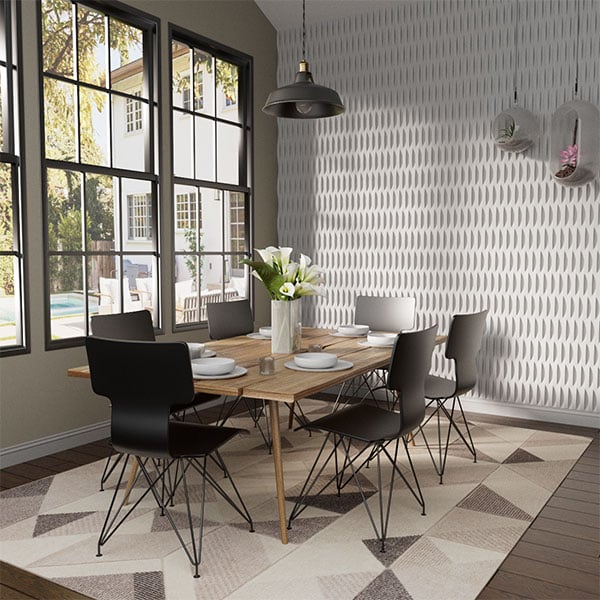
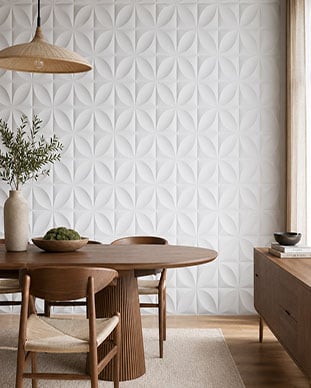
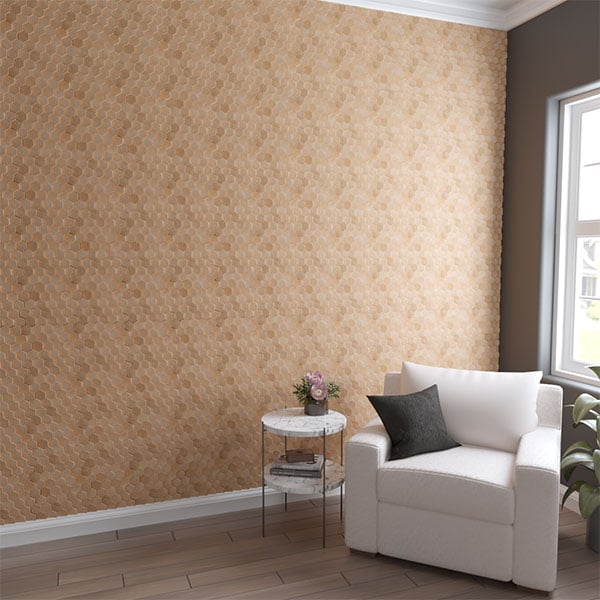
3D Wall Panels

Engineered tile collections offering striking surface texture with effortless, lightweight installation.

Shop All
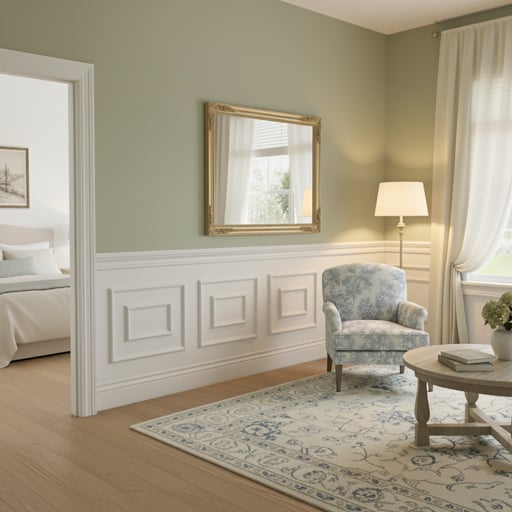
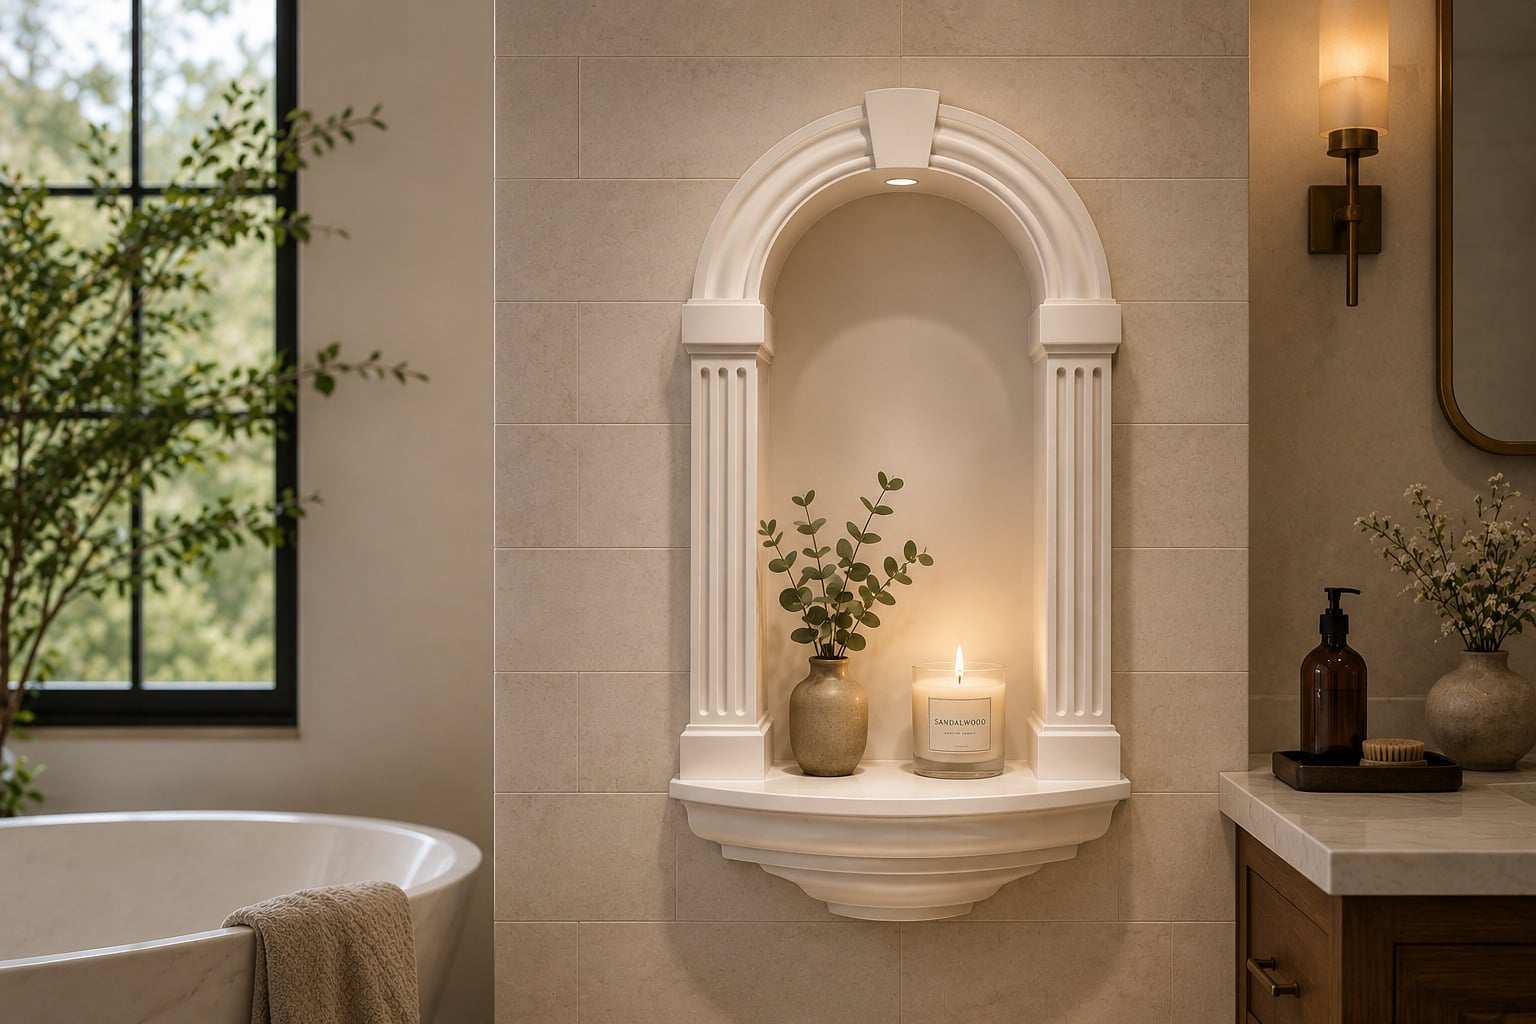
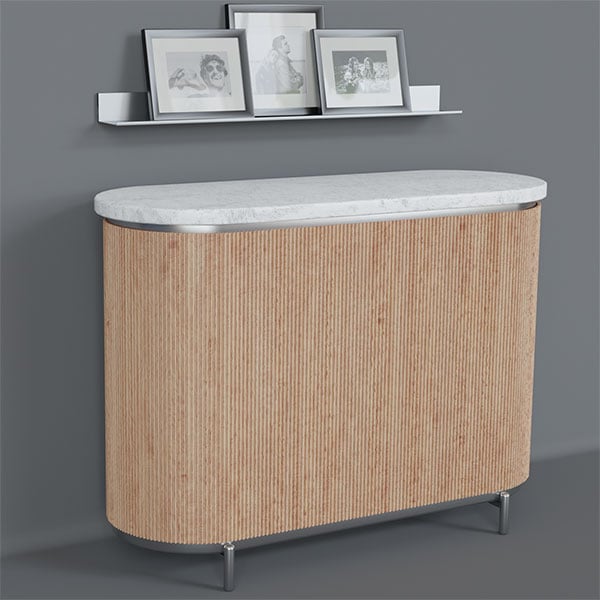
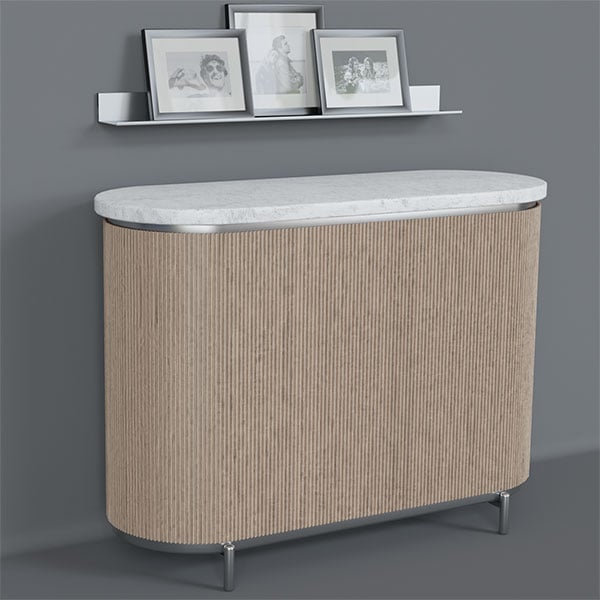
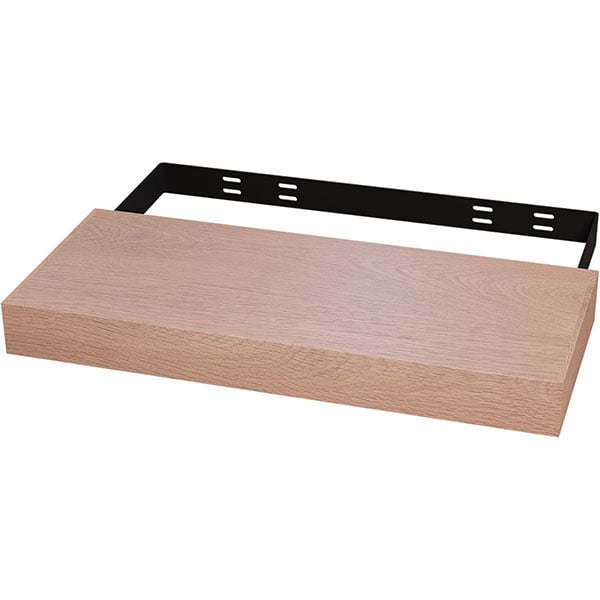
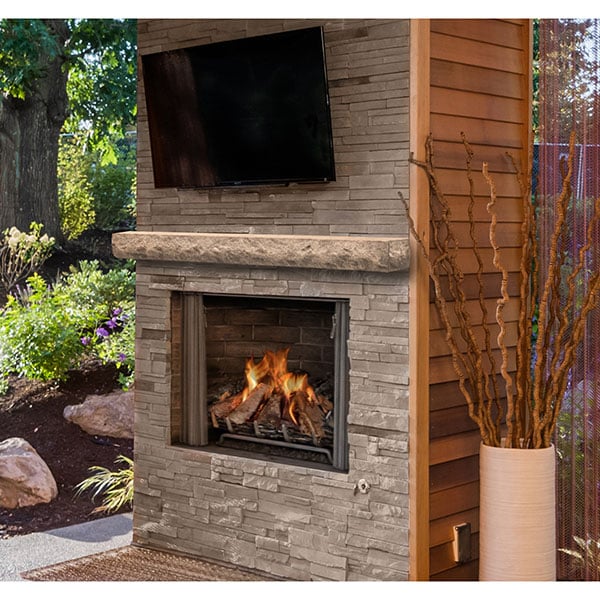
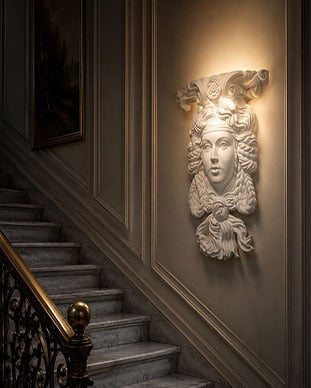
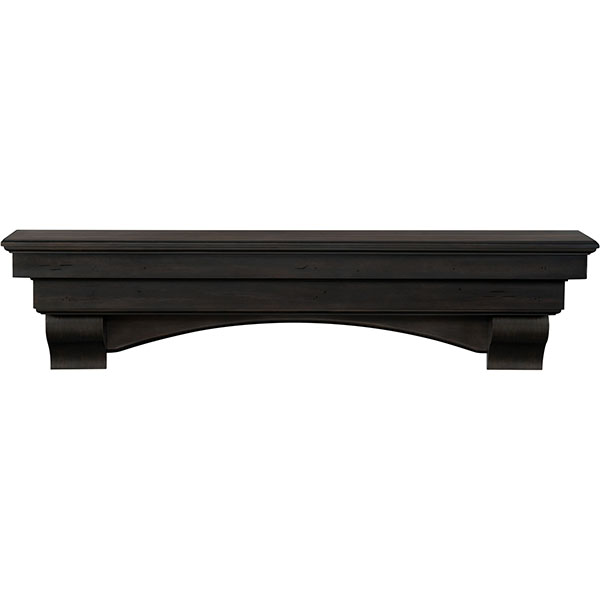
Wall Accessories

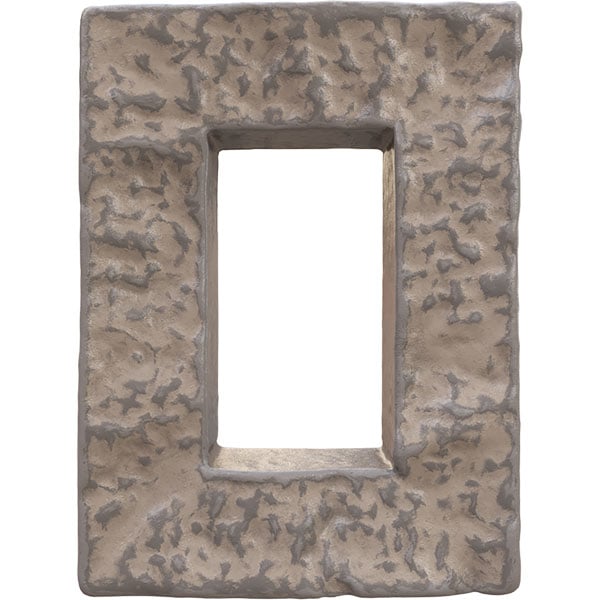
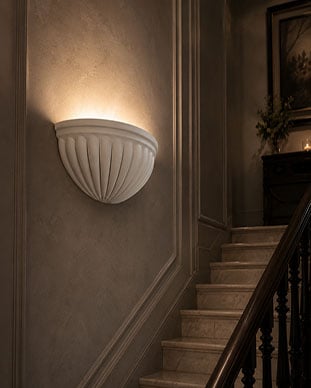
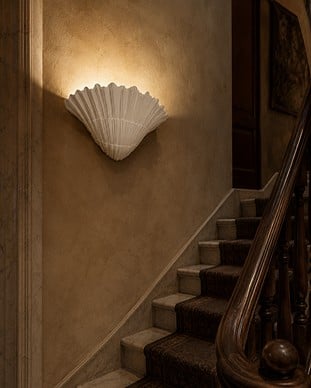
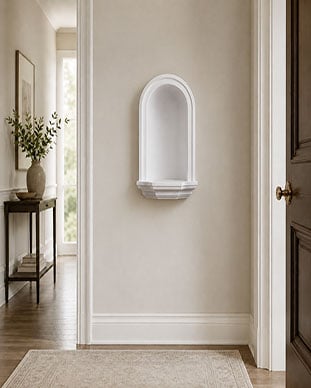
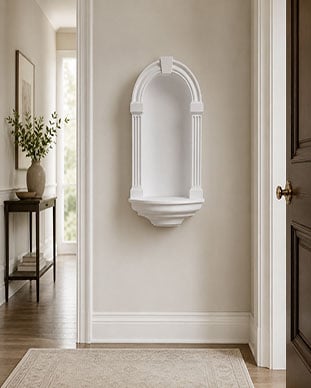
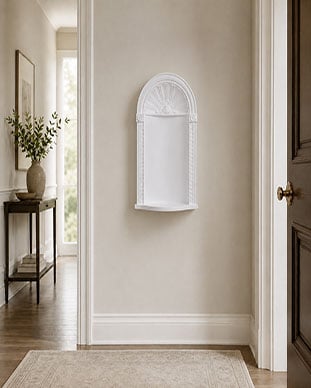
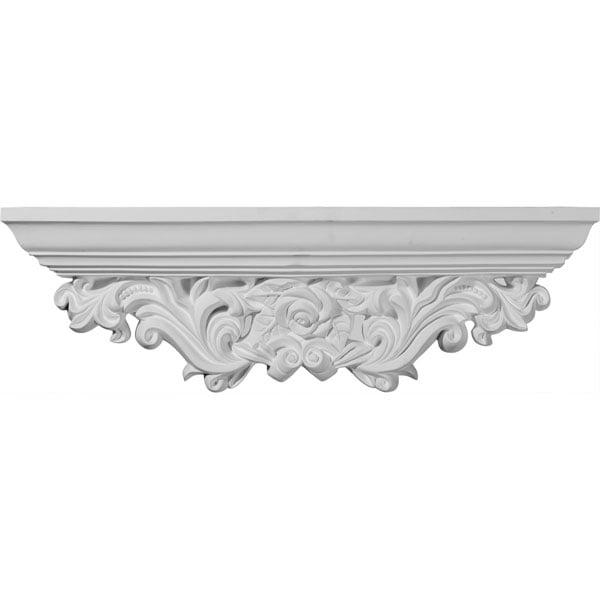
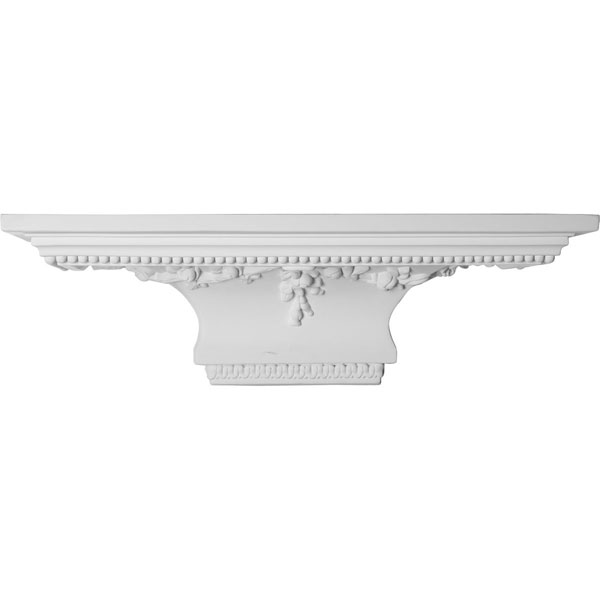
Finishing elements that complete the room — from sconces and niches to mantels and lettering.

Shop All
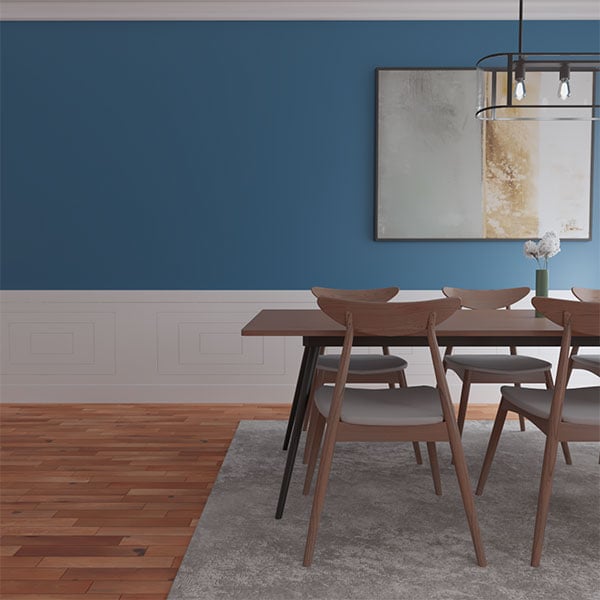
Wall Accents Installation Guide

How to Plan and Install Wall Accents

Wall accents can be installed over many common wall surfaces, but the correct method depends on the product material, the substrate, and whether the project is indoors or outdoors. Faux masonry panels, urethane wainscot, wood slat panels, shiplap, backsplash panels, and mounted accessories do not share one universal attachment method. Start with the instructions supplied on the exact product page, then use the planning sequence below to create a straight, secure, and professionally finished installation.

  1. Confirm the product and surface

    Review the exact installation guide before ordering adhesive or fasteners. Confirm the wall surface, interior or exterior rating, finishing requirements, and whether studs or structural blocking are needed.

  2. Measure and dry-fit

    Measure the wall in several places, establish a level reference line, and lay out the pattern before fastening anything. Mark studs, outlets, switches, plumbing, and other obstacles that affect placement.

  3. Prepare and cut

    Make sure the installation surface is clean, stable, smooth, and dry. Acclimate wood products when required, make cuts with the tools specified for the material, and test each piece before attachment.

  4. Attach and finish

    Use only the adhesive, screws, nails, mounting tape, or supplied hardware specified for that product. Complete seams, corners, caulk, touch-up, paint, and trim in the order provided by its installation guide.

Installation Methods by Wall Accent Type

These summaries explain the typical method for each collection while preserving the product-specific differences that matter during installation.

Faux Stone, Brick, and Concrete Panels

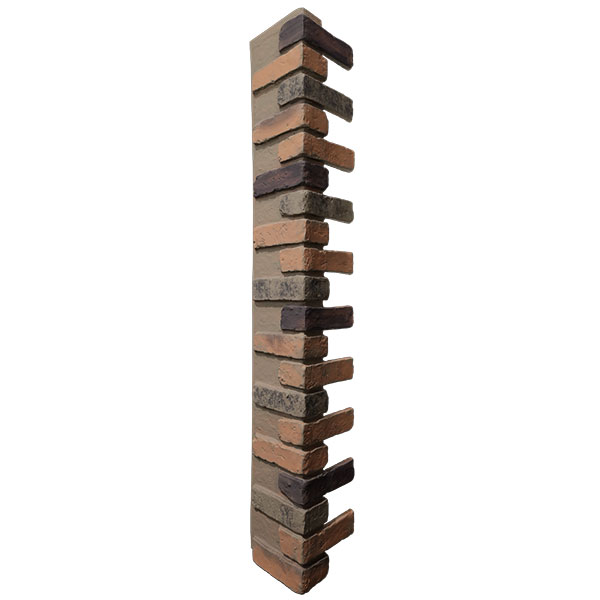
Most faux masonry panels interlock and attach directly to the wall with construction adhesive and screws. They can be cut with common woodworking tools. Dry-fit the panel pattern first and use the matching corners, ledgers, or electrical accessories where the project requires a finished transition.

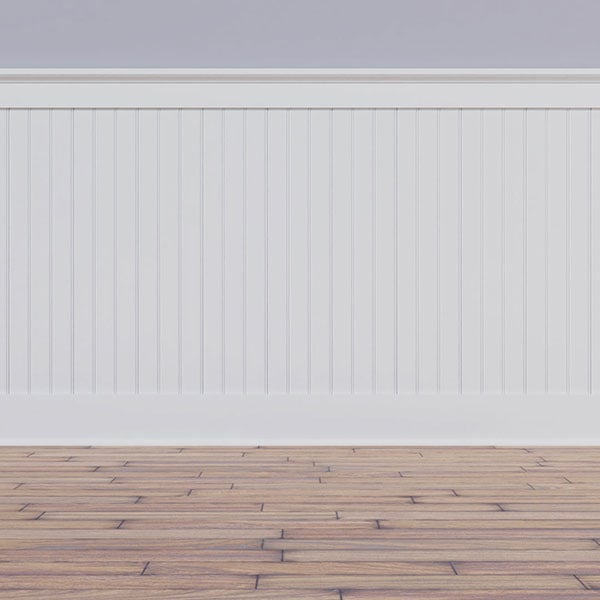
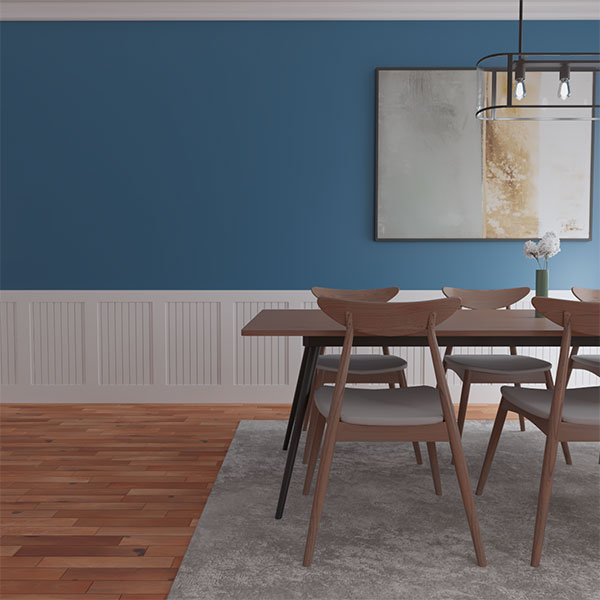
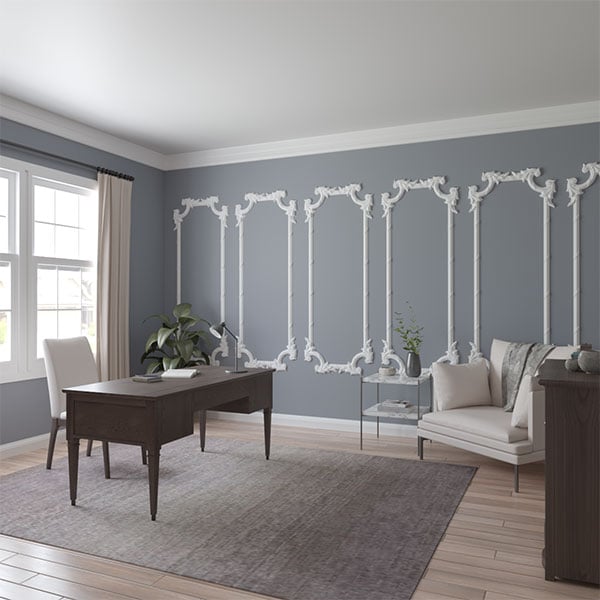
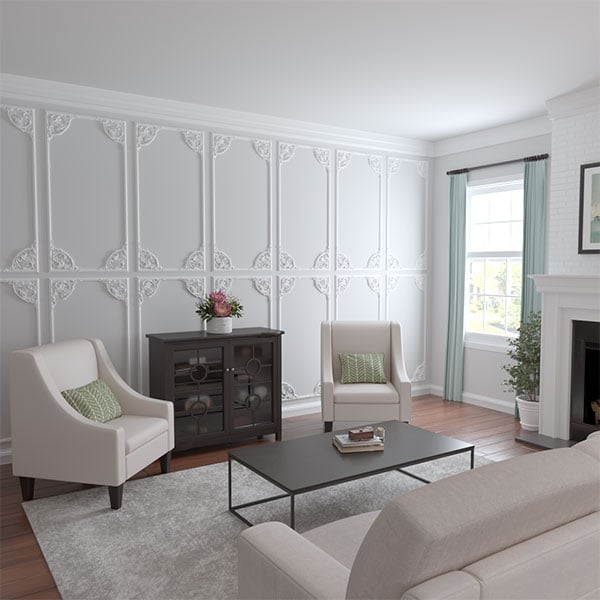
Wainscot and Panel Moulding

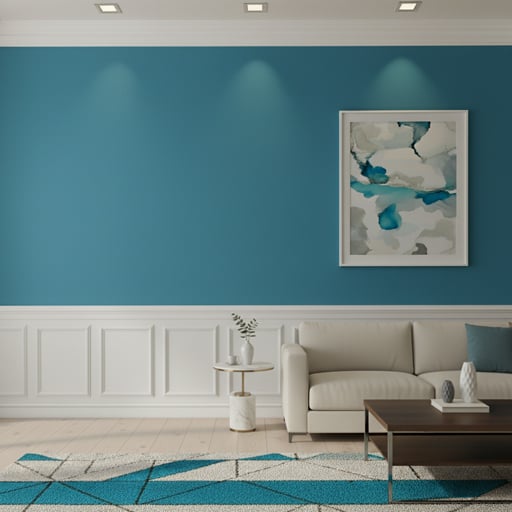
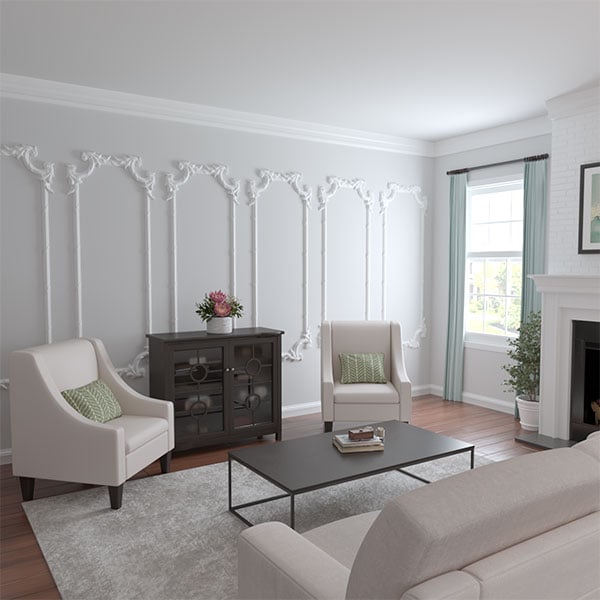
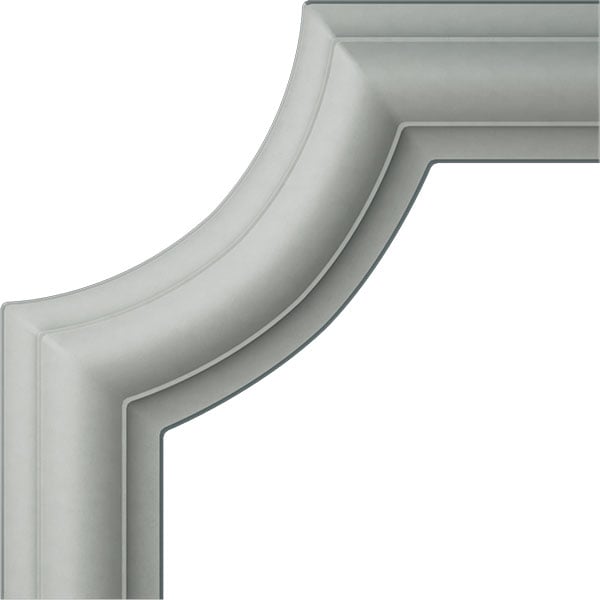
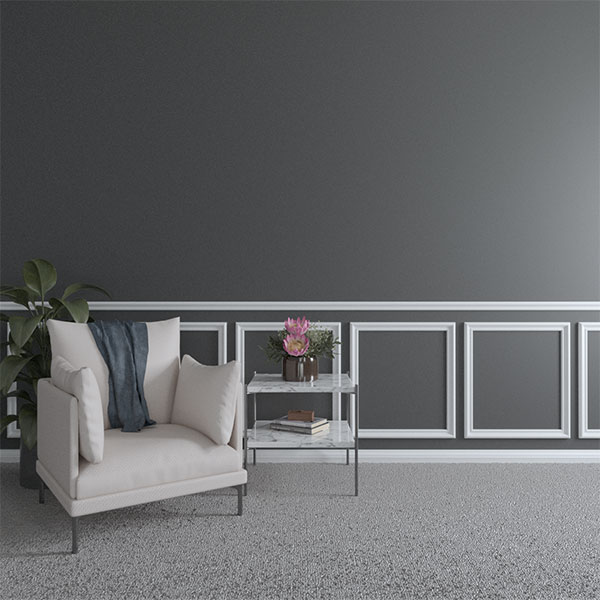
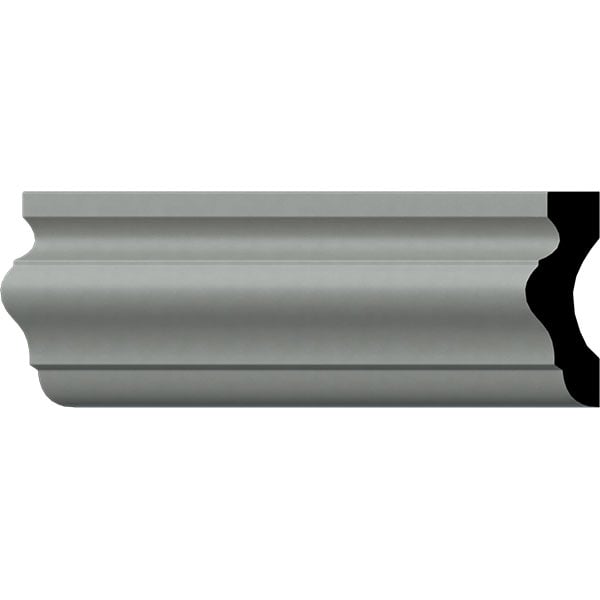
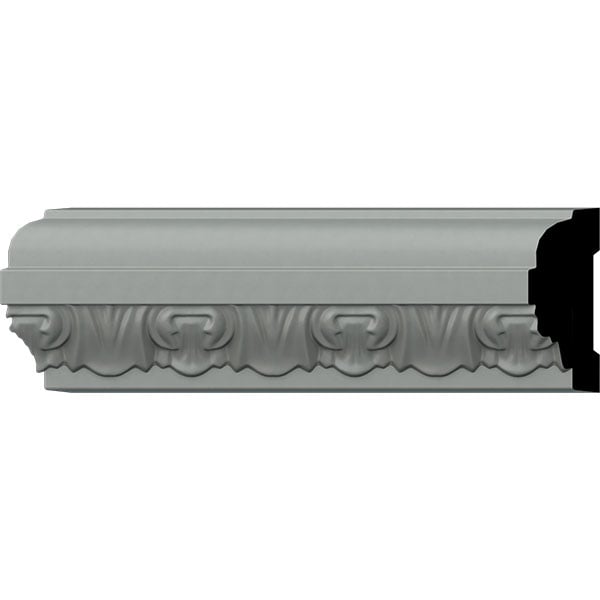
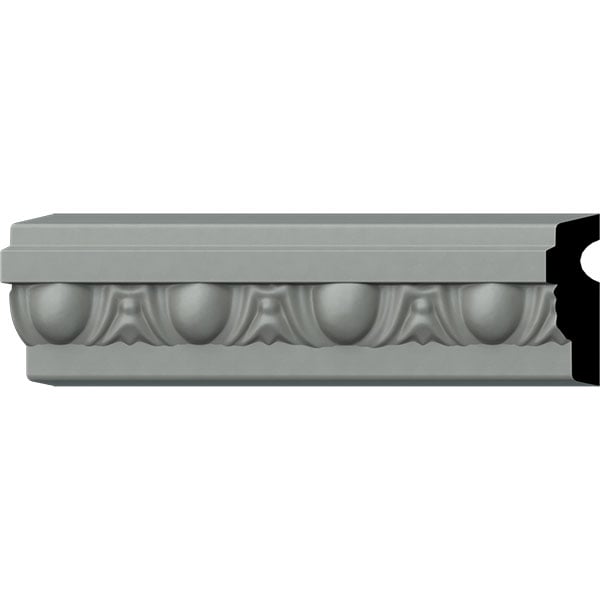
Urethane wainscot and panel moulding can install directly over stable drywall, plaster, or painted wall surfaces with construction adhesive and finish nails. After positioning the components, caulk the joints and transitions before applying the specified finish paint.

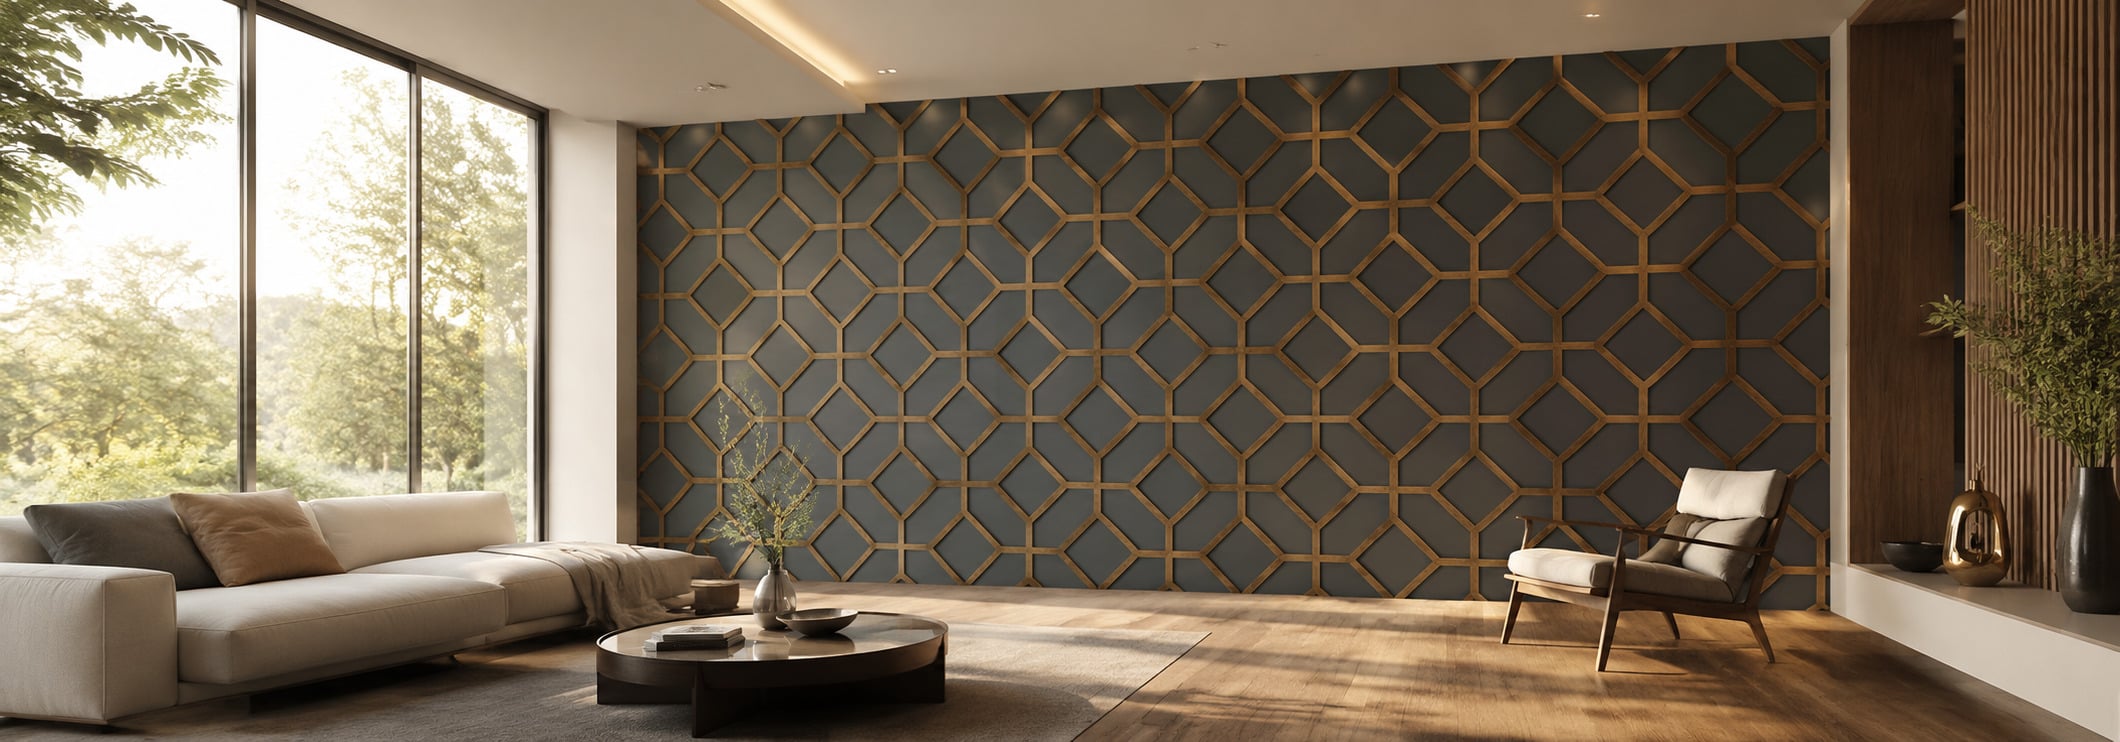
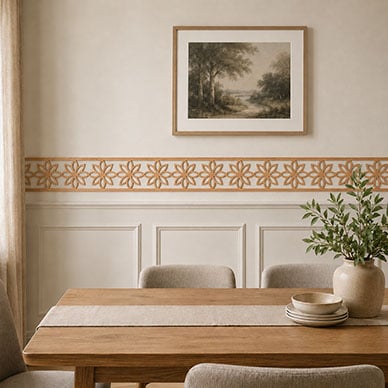
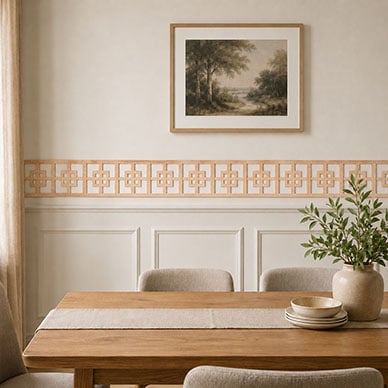
Fretwork and 3D Wall Panels

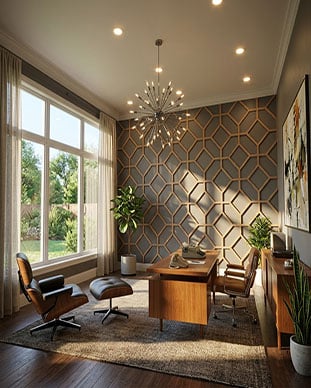
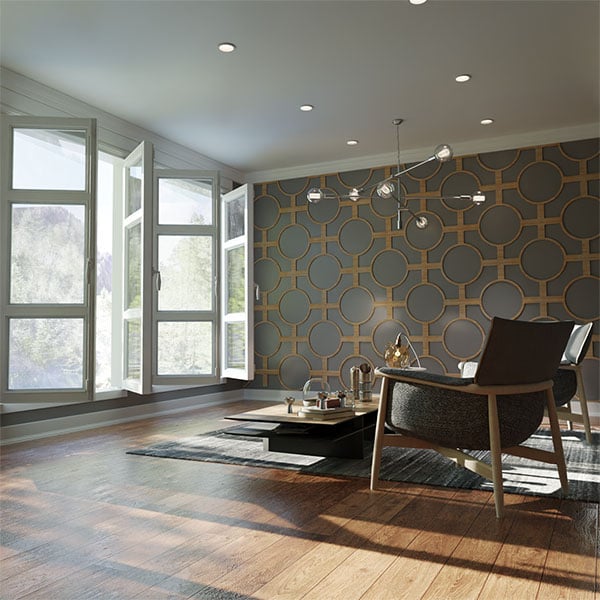
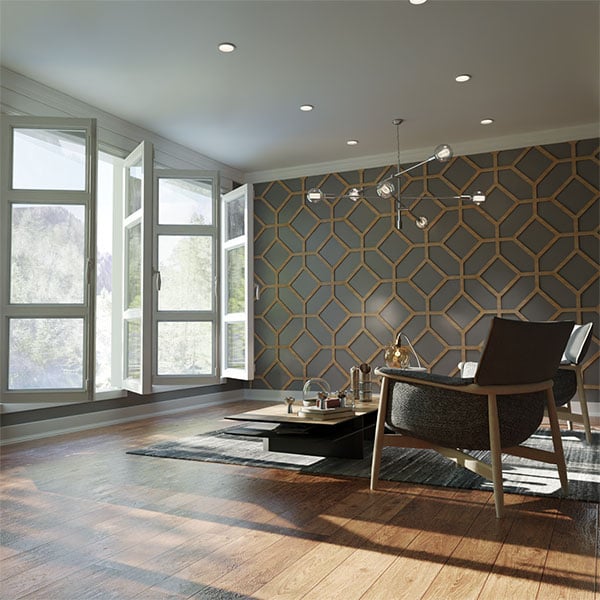
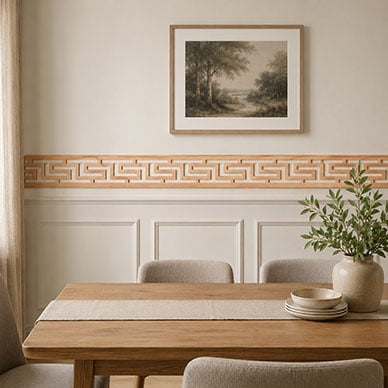
Begin with a clean, smooth, dry wall and center the pattern before cutting. Fretwork and many 3D wall panels use construction adhesive, finish nails, or both. Some lightweight 3D products allow another approved mounting method, so confirm the instructions for the exact material and profile.

Slat Wall Panels

AcoustixPro wood slat panels should acclimate in the installation room before work begins. Prepare and level the wall, cut wood with the recommended saw, trim the backing with a utility knife, and secure the panels with black screws through the backing between the slats. Other slat systems may use adhesive instead.

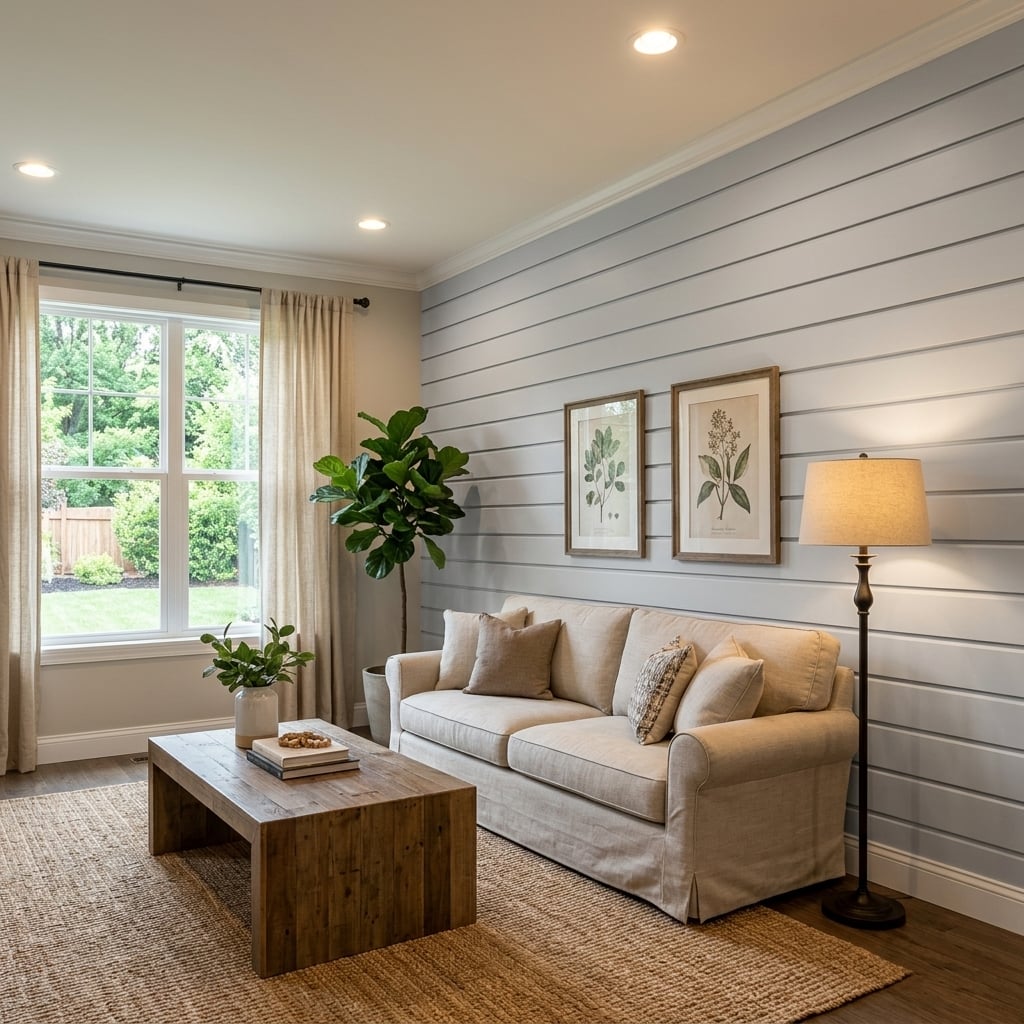
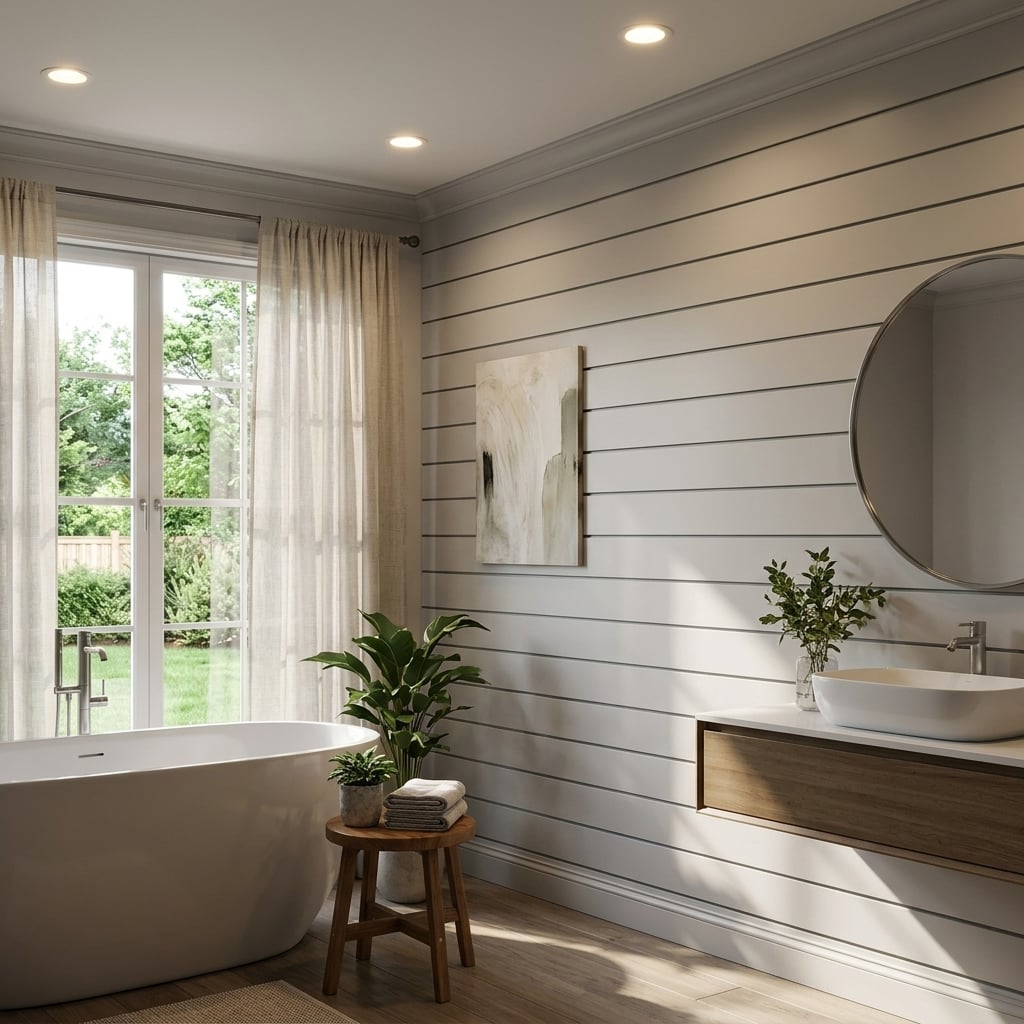
Shiplap Paneling
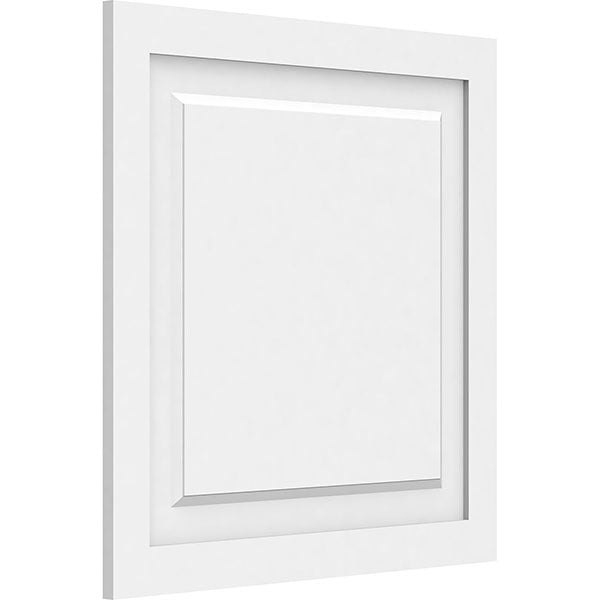
Shiplap is offered in PVC, real wood, and MDF, so attachment, acclimation, expansion spacing, and wet-area requirements vary. Establish a level starting line and follow the exact product guide for the approved adhesive or fastener schedule before installing each overlapping course.
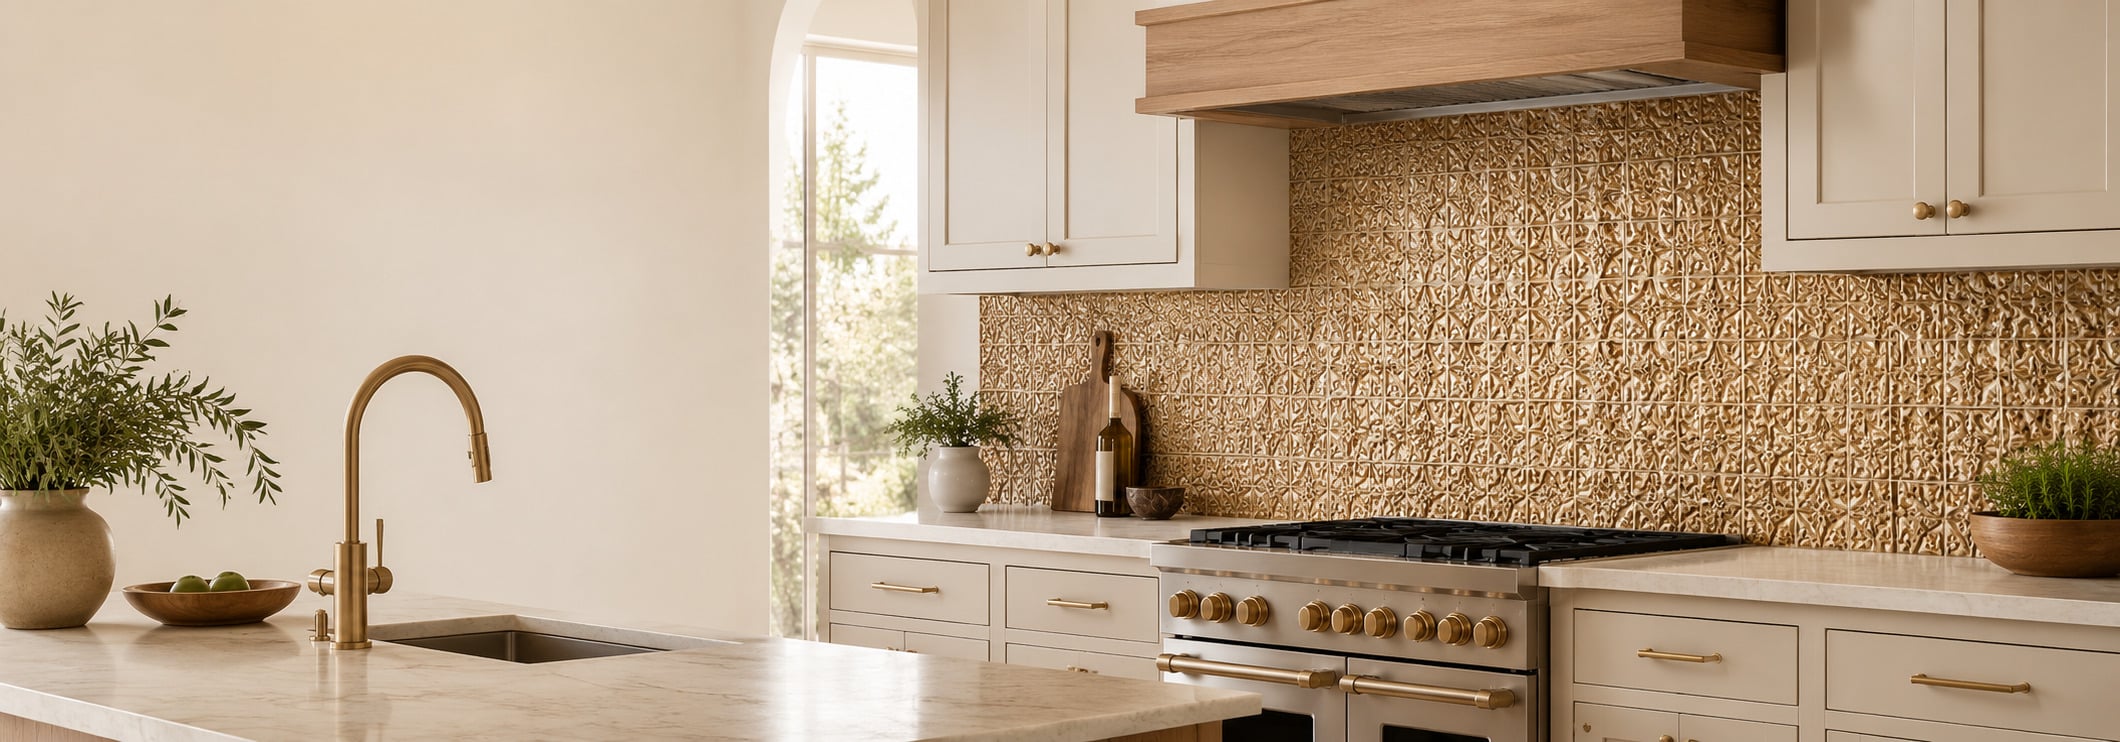
Backsplash Panels

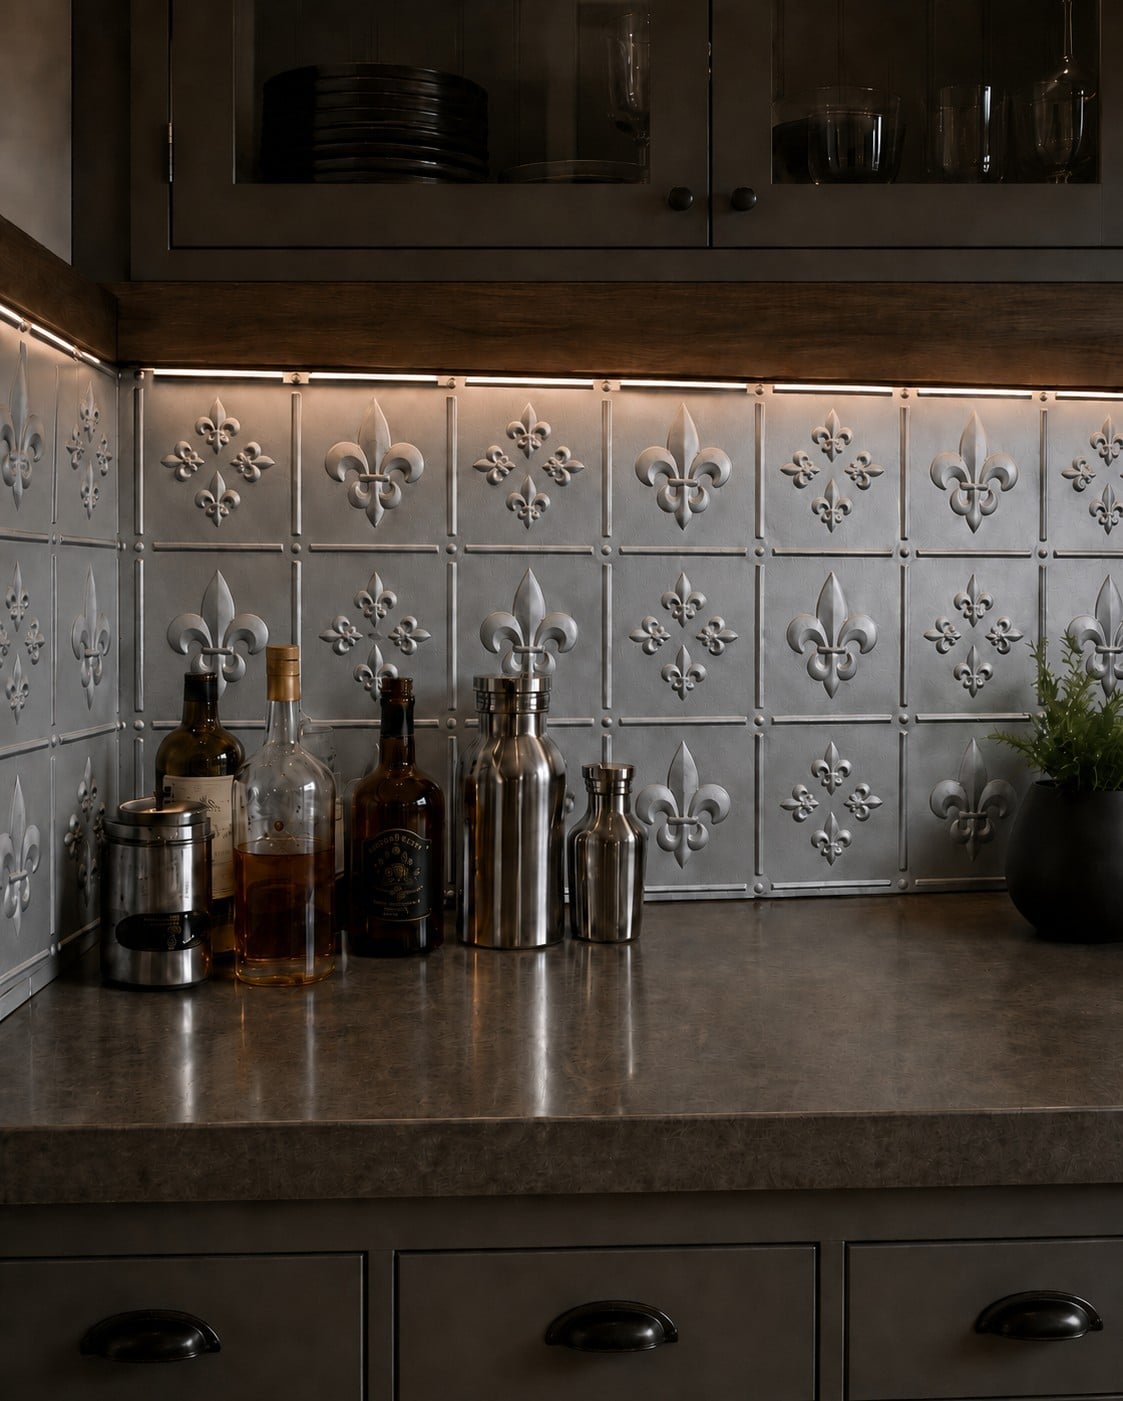
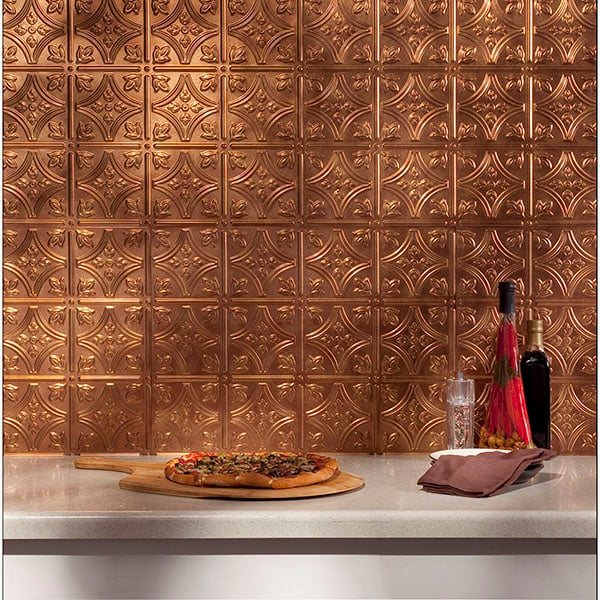
Fasade decorative vinyl backsplash panels can be trimmed with scissors or a utility knife and installed with construction adhesive. Other backsplash materials and kits may use different edge trims, adhesives, or attachment systems, so verify the exact product instructions before surface preparation.

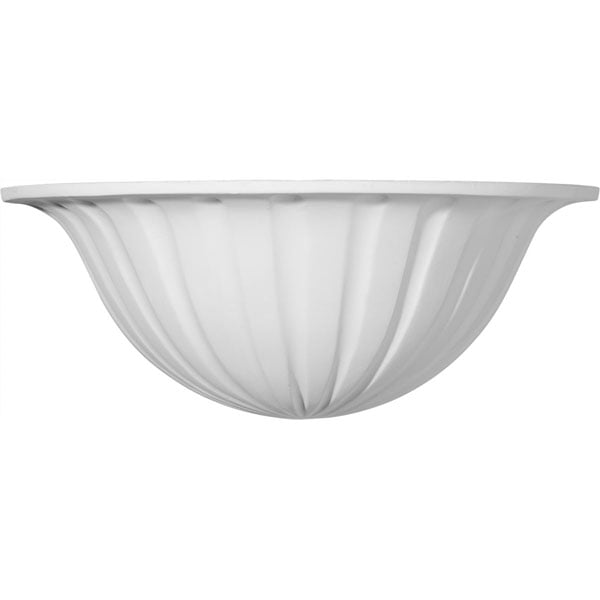
Wall accessories require separate planning. Shelves, mantels, sconces, niches, brackets, and similar pieces may need studs, blocking, anchors, cleats, screws, or supplied mounting hardware. Do not install a mounted accessory using lightweight panel instructions or assume that a decorative product is structural or load-bearing.

Wall Accents Installation FAQ

How do you install wall accents?

Identify the exact product and wall surface, review its installation guide, measure and dry-fit the layout, prepare a clean and stable substrate, and then attach the pieces with the specified adhesive, fasteners, tape, or mounting hardware. Finish seams and edges only as directed for that material.

Can wall accents be installed over drywall?

Many lightweight wall accents can install over clean, stable drywall. Urethane wainscot commonly uses construction adhesive and finish nails, while faux stone and brick panels typically add screws. Heavy accessories or load-bearing applications may require studs or structural blocking.

What adhesive should be used for wall accents?

Adhesive selection depends on the product material, wall surface, and exposure. Faux masonry panels commonly use construction adhesive with screws, while many urethane mouldings and wainscot systems use construction adhesive with finish nails. Use the adhesive named in the exact product instructions.

Do wall accent panels need to acclimate?

Wood products may require acclimation. AcoustixPro wood slat panels should acclimate in the installation room before installation. PVC, polyurethane, vinyl, MDF, and other products have their own requirements, so check the supplied guide rather than applying one rule to every wall accent.